Step 1: Start the provider in Bronto
In Bronto, go to Settings > Authentication > Login Methods and click Add Provider in the SSO section. Set Choose protocol to SAML.Name
Pick a unique name for this IdP within your organisation (e.g. “Google”).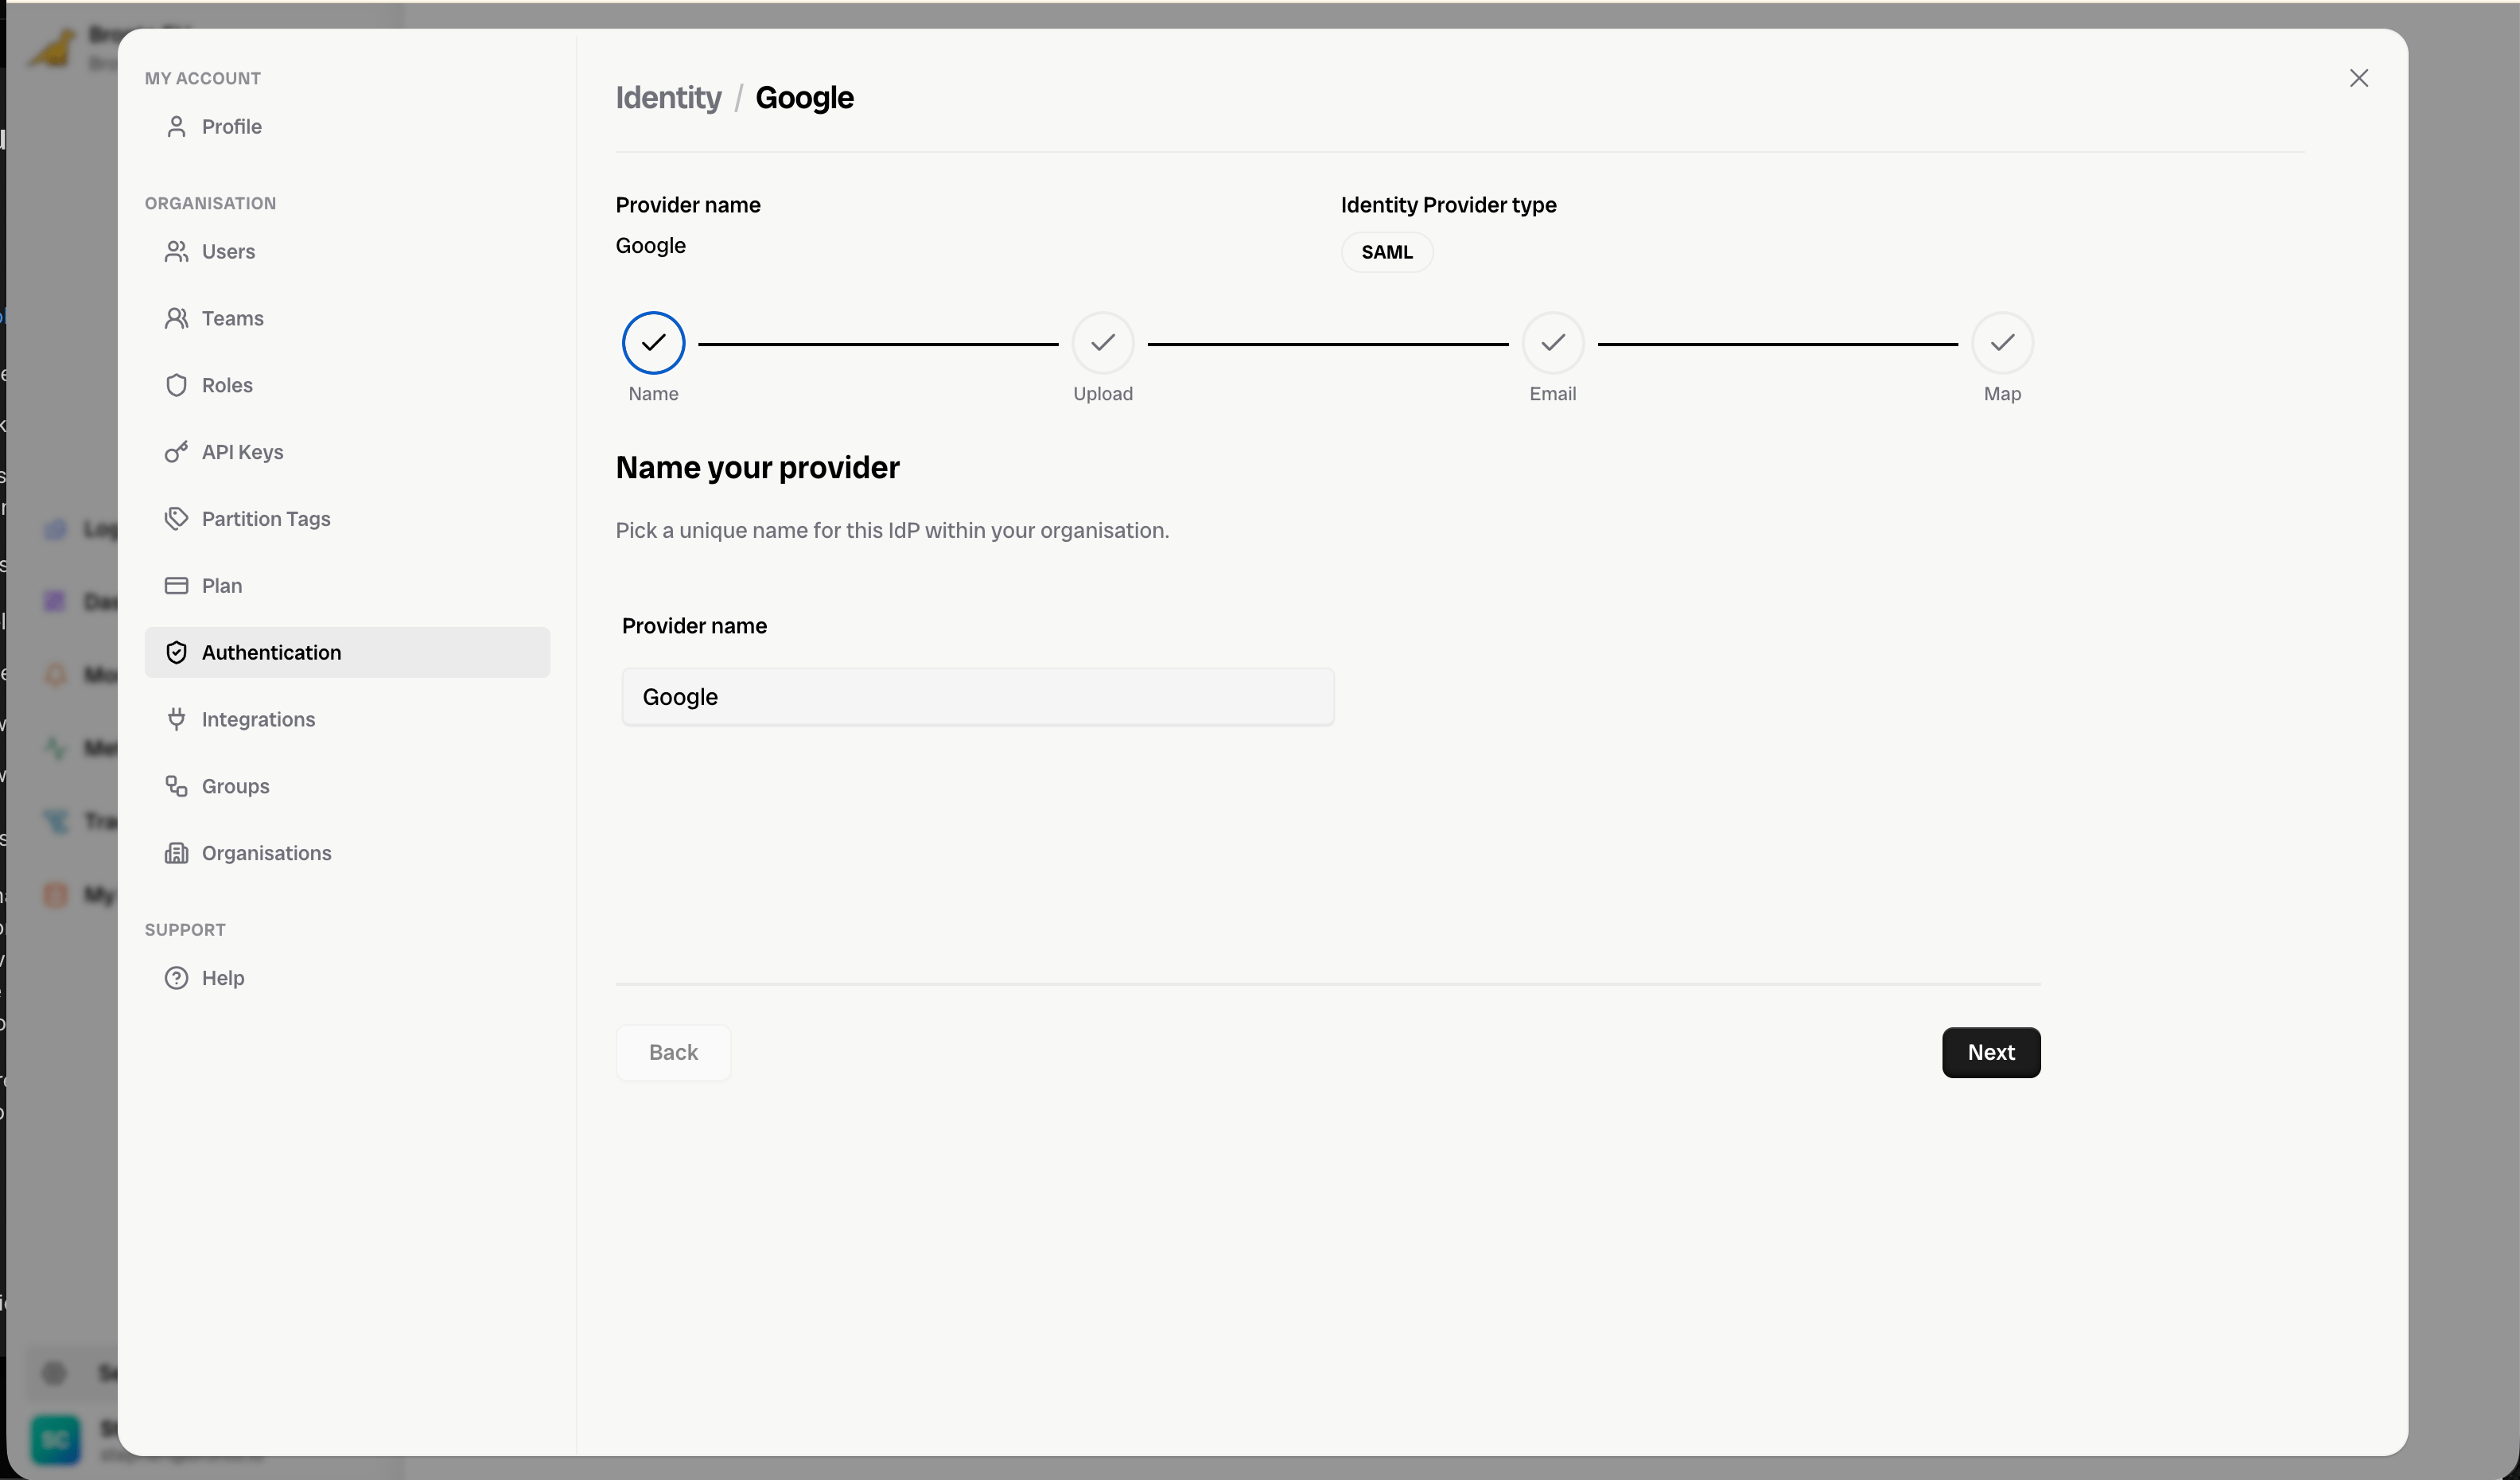
Upload
On the Upload step, the Paste these into your IdP panel shows the values you need to configure the Google SAML app — the ACS URL, Entity ID, and Default Relay State. Keep this open while you configure Google in Step 2, then upload the metadata XML that Google gives you back into this step.
Step 2: Configure the SAML app in Google
View the dedicated Google instructionsService Provider Details
- Application Name - Can be anything
- Description - Can be anything
- ACS URL - Use the ACS URL from the Bronto Upload step.
- Entity ID - Use the Entity ID from the Bronto Upload step.
- Start URL - Use the Default Relay State from the Bronto Upload step.
- Signed Response - Leave unchecked
- Name ID - Select Basic Information and Primary Email
Attribute Mapping
Bronto requires a First name, Last name and Primary Email attributes from Basic Information. These can map to any fields, as long as you match the names used when configuring the IdP in Bronto. If you wish to use role mapping, you must also configure attribute mapping from group membership to the attribute mapped to custom:member_of. See SSO Role Mapping.Step 3: Finish the wizard in Bronto
Back in Bronto, upload the metadata XML from Google on the Upload step, then complete the remaining steps.bronto.io). Type each domain and press Enter.

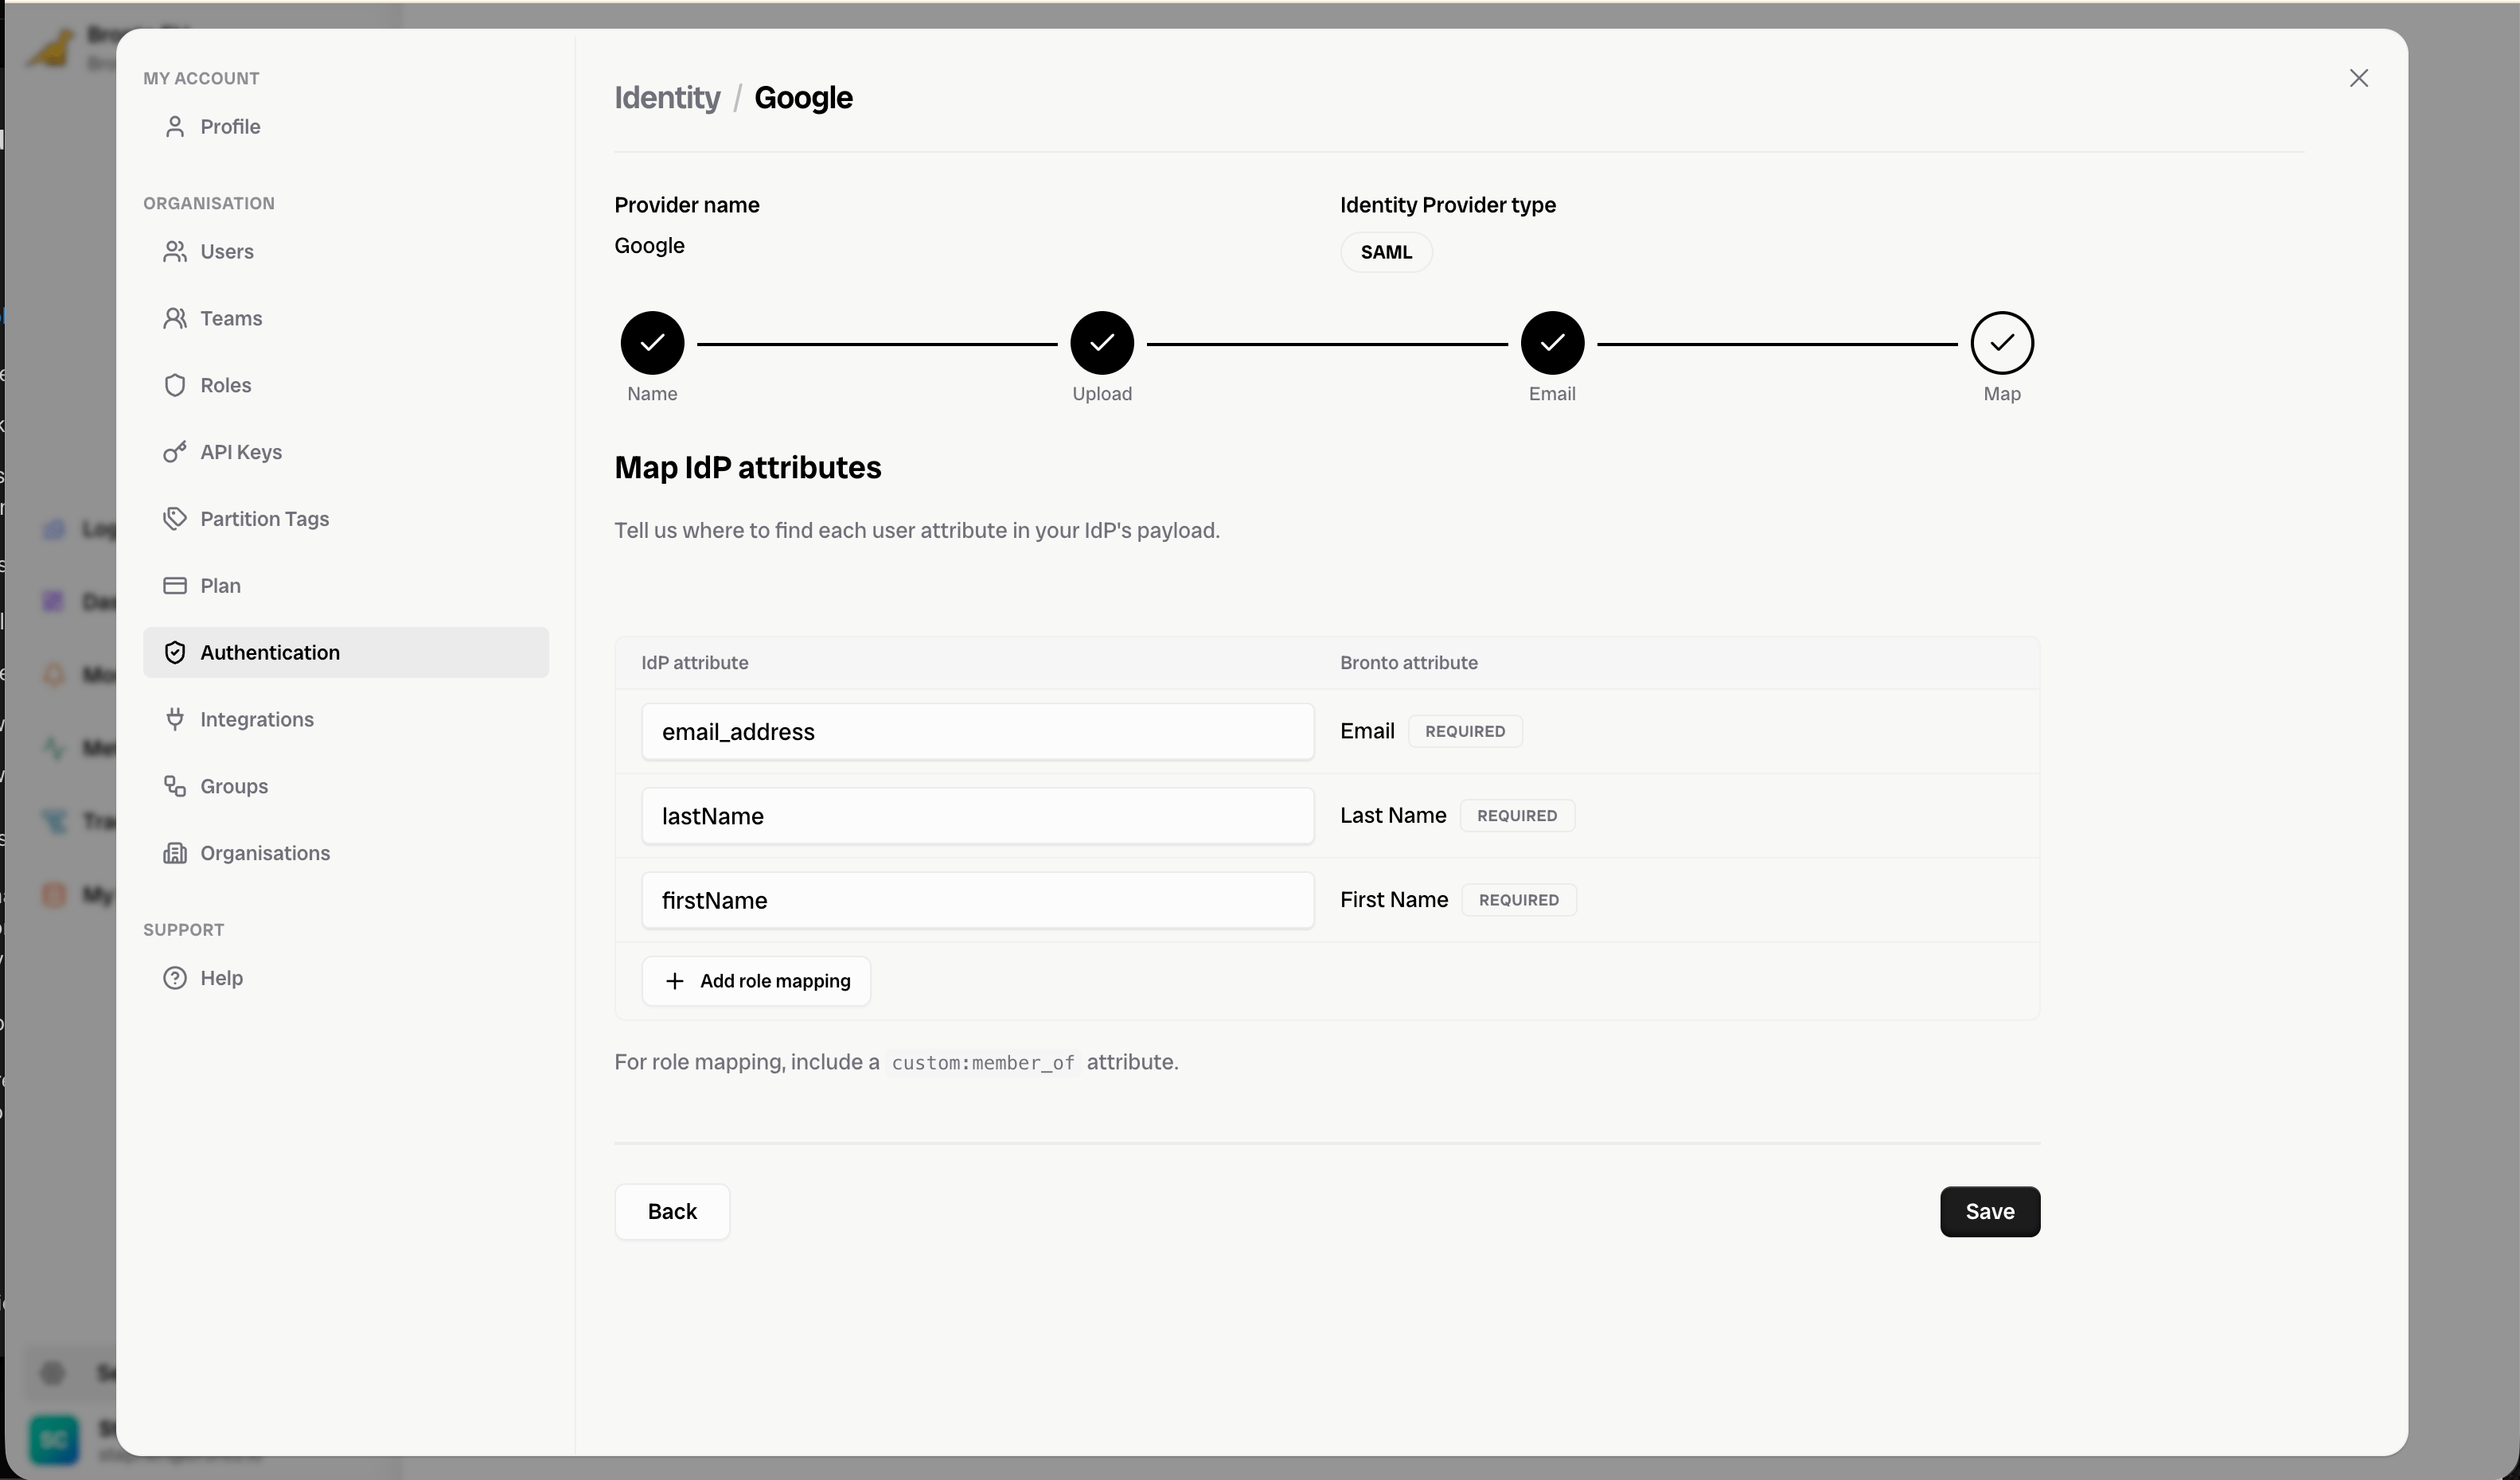
Map
Map your Google attributes to Bronto’s required First Name, Last Name, and Email, matching the attribute names you configured in Google. To use role mapping, click + Add role mapping and map your group membership attribute to custom:member_of.